How to Measure Your Windows for Custom Blinds (And Avoid Costly Mistakes)
There’s a particular kind of frustration that comes with unboxing a set of custom blinds, holding them up to the window, and watching them miss by half an inch. Not a lot. Just enough. Custom blinds are built to the exact dimensions you provide. The measurements you take today determine everything about how they look and function for years.
This guide covers the full process: inside mount, outside mount, special windows, and the mistakes we see cost homeowners money every week.
First Decision: Inside Mount or Outside Mount
Get this wrong, and precise measuring doesn’t help you. These two approaches are different, and each requires its own method.
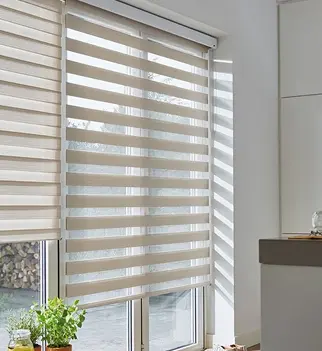
The inside mount fits within the window frame for a clean, built-in appearance. It works well when the frame is deep enough, and the window is reasonably square.
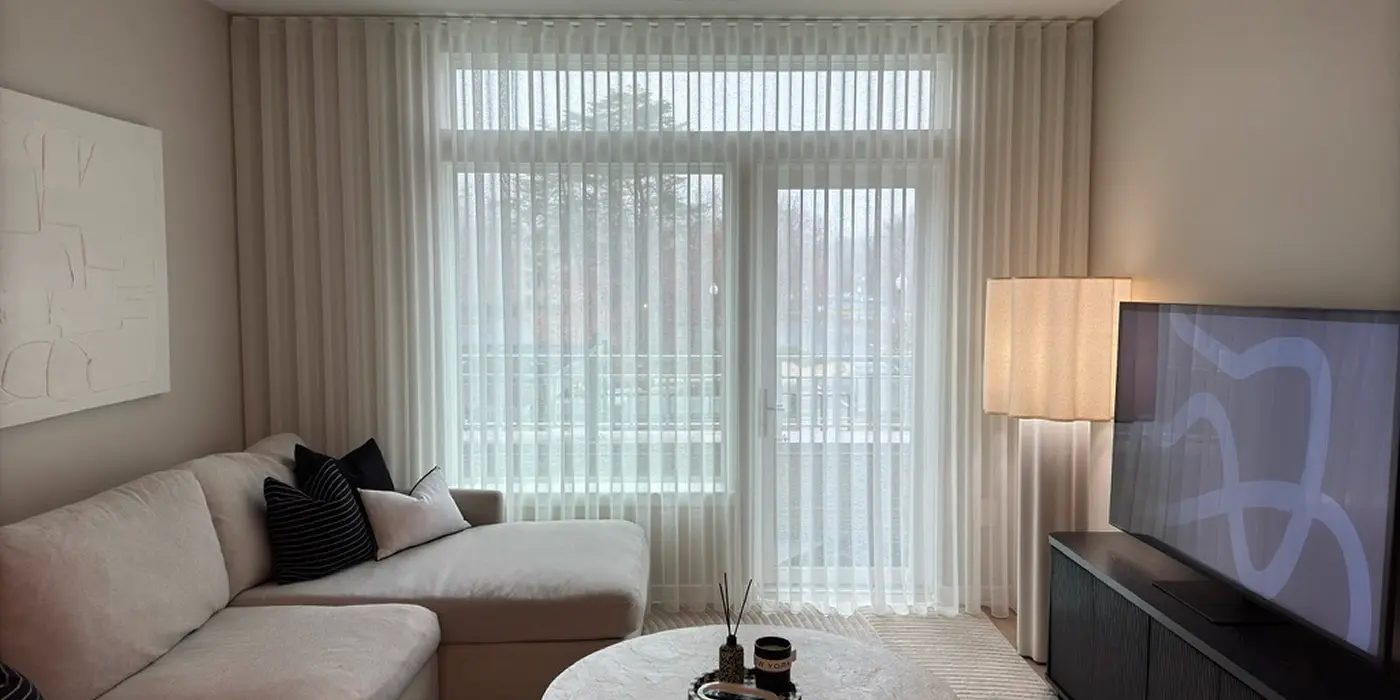
Outside-mount installations mount above the frame on the wall, covering the full opening. It’s more forgiving on shallow or irregular frames and gives stronger light control at the edges.
Before measuring anything, check your frame depth. Most custom blinds need at least 2 inches of clearance for an inside mount. If the frame is shallower, the headrail will project into the room, and the blind won’t sit flush. Also, check the inside corners for cranks, handles, locks, or sensors. Any obstruction more than half an inch into the frame is a problem for an inside mount.
If you’re not sure which to choose, measure the first window both ways. The depth and obstacle situation usually make the decision obvious.
What You Actually Need
One tool matters: a steel tape measure. Fabric or flexible tapes bend within narrow frames and produce readings that are just off enough to cause problems. Everything else, pencil, paper, phone, is just for recording measurements as you go.
Write every measurement in Width x Height format (W x H). Swapping the two when ordering is one of the most common errors, and it’s easy to avoid with a consistent habit from the start.
Measuring for Inside Mount
Width: Measure across the inside of the frame at three points: top, middle, and bottom. Record all three. Use the narrowest number. This accounts for any bow or irregularity; the blind person needs to clear the tightest point.
Height: Measure from the top inside edge down to the sill at three points: left, center, right. Record all three. Use the longest number. This ensures the blind covers the full opening even if the sill isn’t perfectly level.
The deduction rule: Do not adjust your measurements downward to allow for clearance. Manufacturers build that deduction into production, typically 1/8 to 1/4 inch on each side. If you pre-deduct and the factory deducts again, the blind ends up with unnecessary side light gaps.
Measure to the nearest 1/8 inch throughout.
One more check: if your three width measurements vary by more than 1/2 inch, the window may be too irregular for a clean inside mount. The outside mount will typically look and function better in that case.
Measuring for Outside Mount
Width: Add at least 2 inches on each side of the window frame, for a total of 4 inches. This overlap blocks side light and gives the blind the right visual proportion relative to the window.
Height: Start 2 to 3 inches above the frame to allow for mounting brackets. Let the blind extend slightly below the sill. Going flush with the sill often leaves a visible gap at the bottom; how far below depends on the room, but some extension is almost always worth it.
Mounting surface: Confirm that brackets will sit flush wherever you’re installing. An unstable mounting surface causes the blind to tilt or bind, and uneven overhangs look wrong even when the dimensions are technically right.
Special Windows
Bay windows: Measure each section as its own independent window. Do not average across sections.
Sliding doors and French doors: Measure the glass pane edge to edge for width, then add 2 to 3 inches to each side. Check for handles, locks, or floor tracks that could interfere with the blind’s travel.
Out-of-square windows: Measure both diagonals, corner to corner. If they differ by more than a small amount, outside mount is usually the right call. Inside mount on a badly racked frame produces uneven light gaps that no measurement adjustment fixes.
Mistakes That Cost Money
These come up every week. Most are easy to avoid once you know what to watch for.
Measuring only once per dimension. Even newer homes have windows that vary by 1/4 inch or more across the opening. Three measurements per dimension is not excessive; it’s the minimum.
Measuring the existing blinds. Old blinds may have been cut to an imprecise size or shifted over the years. Always measure the window opening itself.
Making your own deductions. This produces double-deduction and loose-fitting blinds. Give the manufacturer your exact opening dimensions and let them handle clearance.
Skipping the depth check. Finding out the frame is too shallow for the inside mount after the blinds have already arrived means a reorder. Check depth first.
Rounding measurements. Measure to the nearest 1/8 inch and record exactly that. Rounding a 34 3/8-inch opening to 34 1/2 produces a blind that won’t seat properly.
When to Call Brilliant Blind
Some windows are worth having a professional measure: very wide openings, frames that are noticeably out of square, multi-window rooms where visual consistency across every frame matters, or any situation where the frame depth is borderline for inside mount.
Brilliant Blind offers in-home measuring consultations. One visit from someone who does this every day costs less than a reorder and eliminates the guesswork entirely.
Ready to order or not sure where to start? Contact Brilliant Blind to discuss your windows or book an in-home consultation.
Frequently Asked Questions
1. What is the difference between inside mount and outside mount custom blinds?
The inside mount sits within the window frame. Outside-mount installations mount above the frame on the wall and cover the full opening. The outside mount works better on shallow or irregular frames and blocks more side light. The mount type determines how you measure, so settle this before you start.
2. Should I make my own deductions when measuring for an inside mount?
No. Give the manufacturer your exact window opening: narrowest width and longest height, and they will handle the clearance deductions. If you pre-deduct and the factory deducts again, the blind fits loosely and leaves a larger side-light gap than it should.
3. How much frame depth do I need for an inside mount?
Most custom blinds need at least 2 inches of depth for the headrail to sit flush. If your frame is shallower than that, the headrail projects forward into the room. An outside mount solves this, or ask Brilliant Blind about low-profile headrail options before ordering.
4. What do I do if my window frame isn’t square?
Measure width at top, middle, and bottom; measure height at left, center, and right. If the three width measurements vary by more than 1/2 inch, the window is likely too irregular for inside mount. Measure both diagonals, corner to corner, to confirm. Outside-mount handles irregular frames without the light-gap problems that an inside mount creates in that situation.
5. Can I use the same measurements for windows that appear to be the same size?
No. Windows that appear identical often differ by 1/4 inch or more. Measure each window separately and record each set of dimensions separately. Using one set of measurements across multiple openings is a reliable way to end up with at least one blind that doesn’t fit.